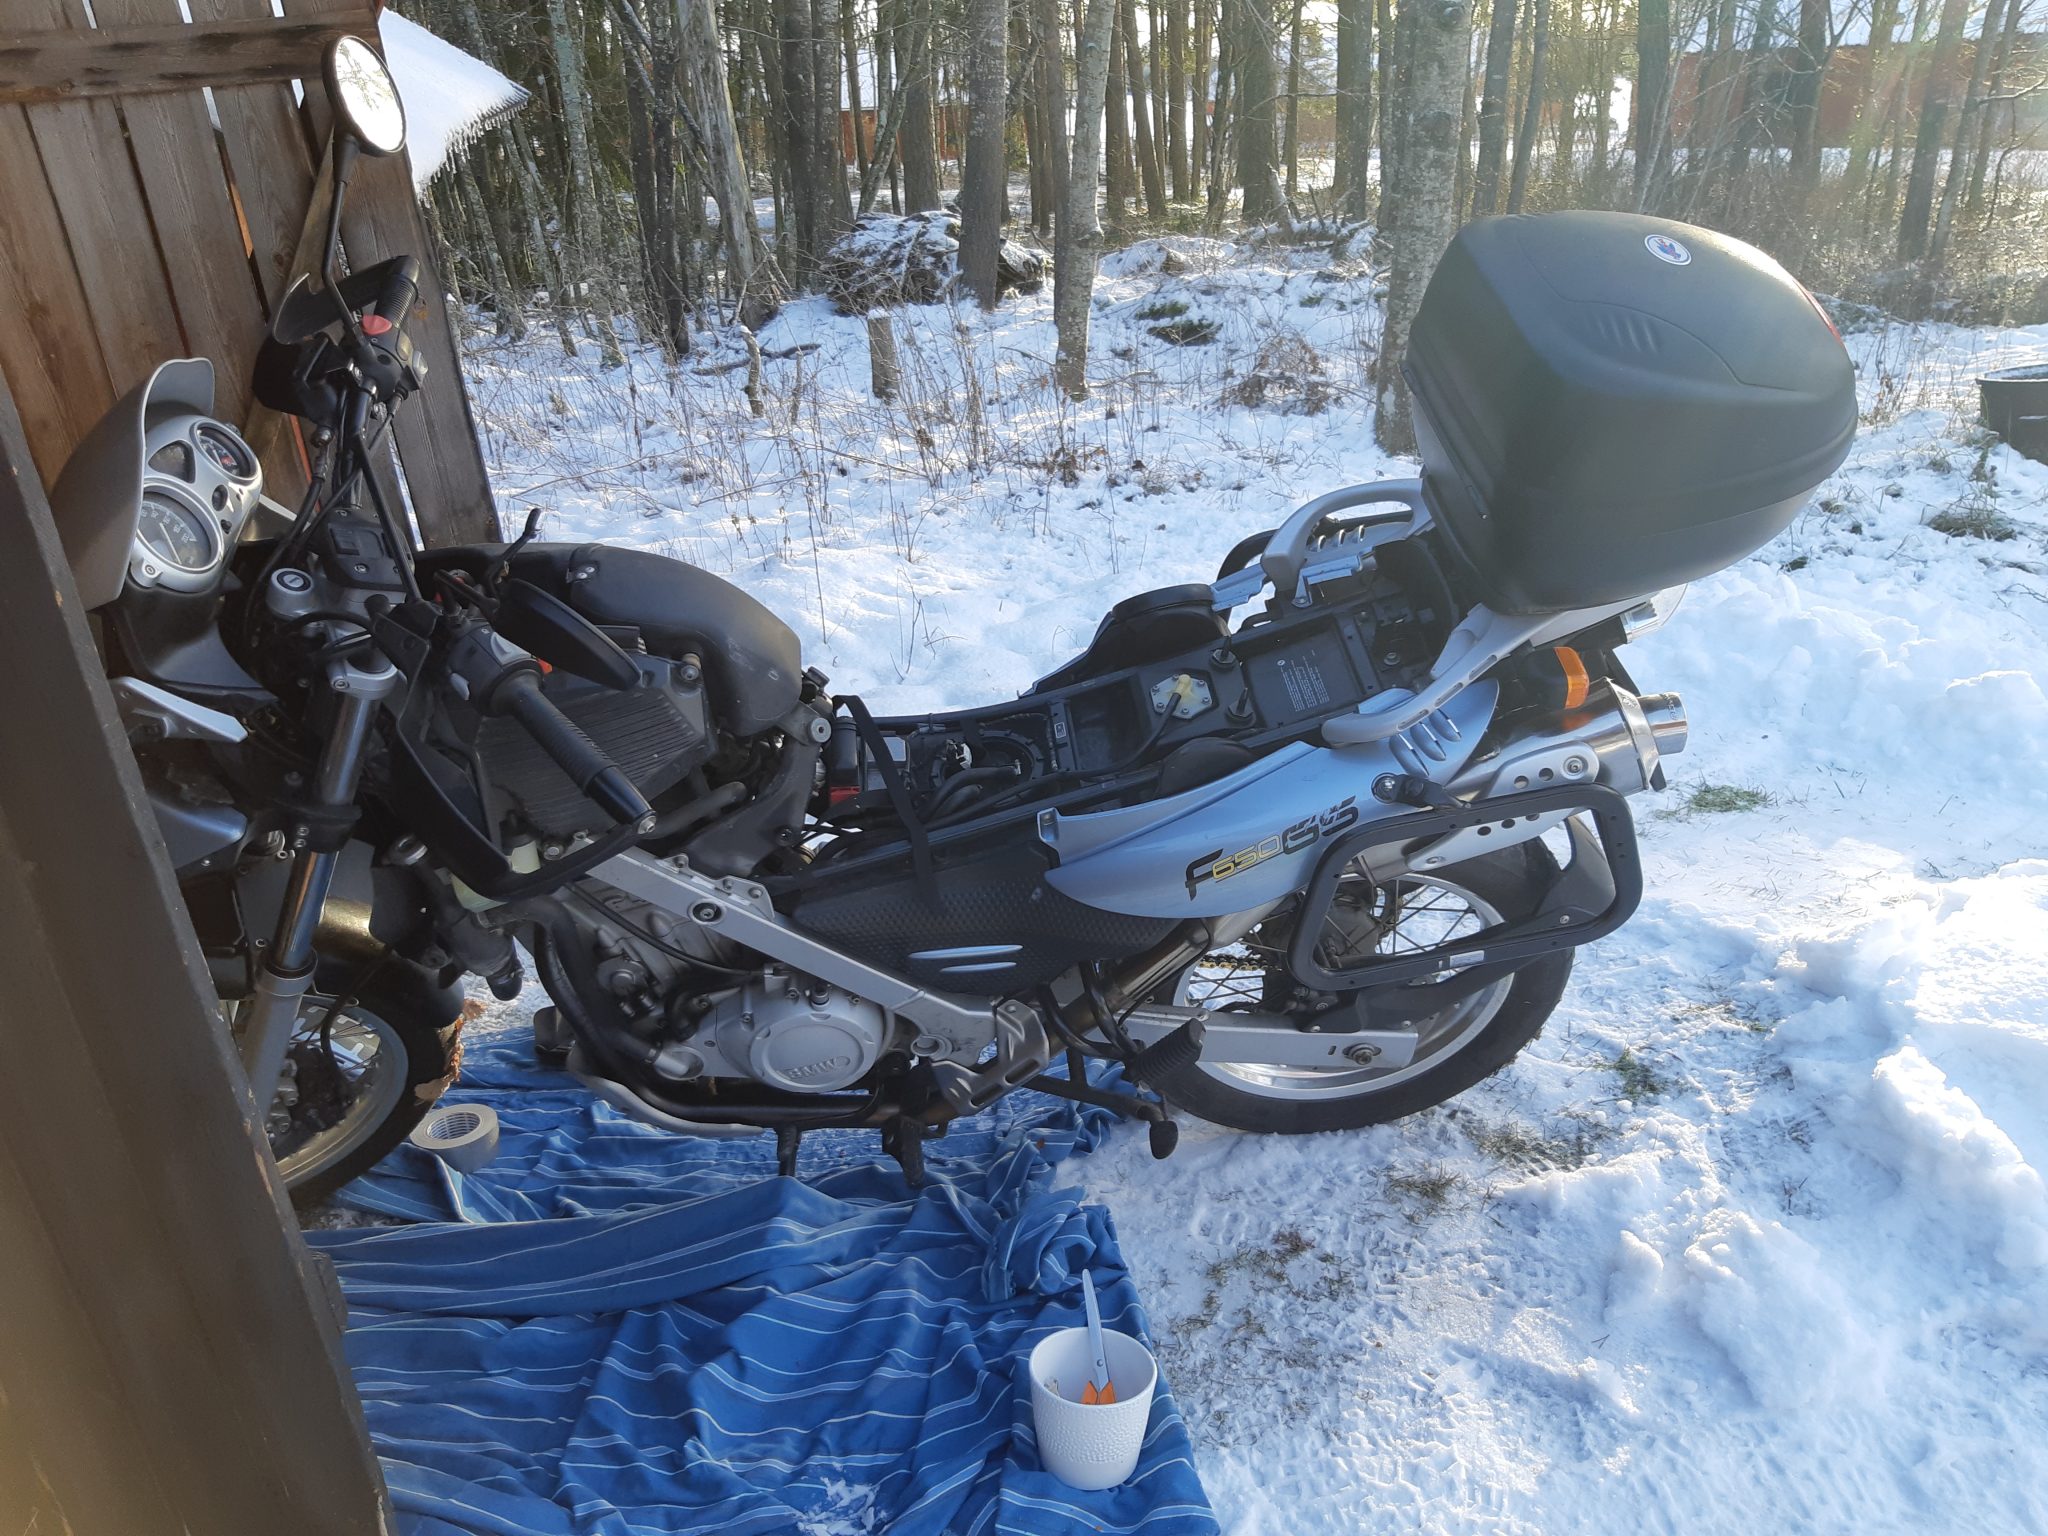
I’ve spent the last few days prepping Cool Cat, my blue 2002 F650 GS. It had been stored away in a shed for two full years without anyone looking after it so it was in desperate need of some TLC. Firstly, I am aware that a shed is not the perfect place to store a bike in a cold country like Sweden. It is, however, the best I’ve got. When I extracted the bike I was surprised that it didn’t look too bad, it was dusty for sure – I had chosen not to cover it as a cover could provide cosy spots for mice to nest and I was worried about them gnawing on the cables.

The rubber grips had mould on them, urgh, I hate mould. Luckily, I found a bottle of vinegar to wipe it away and now there is no trace of it.

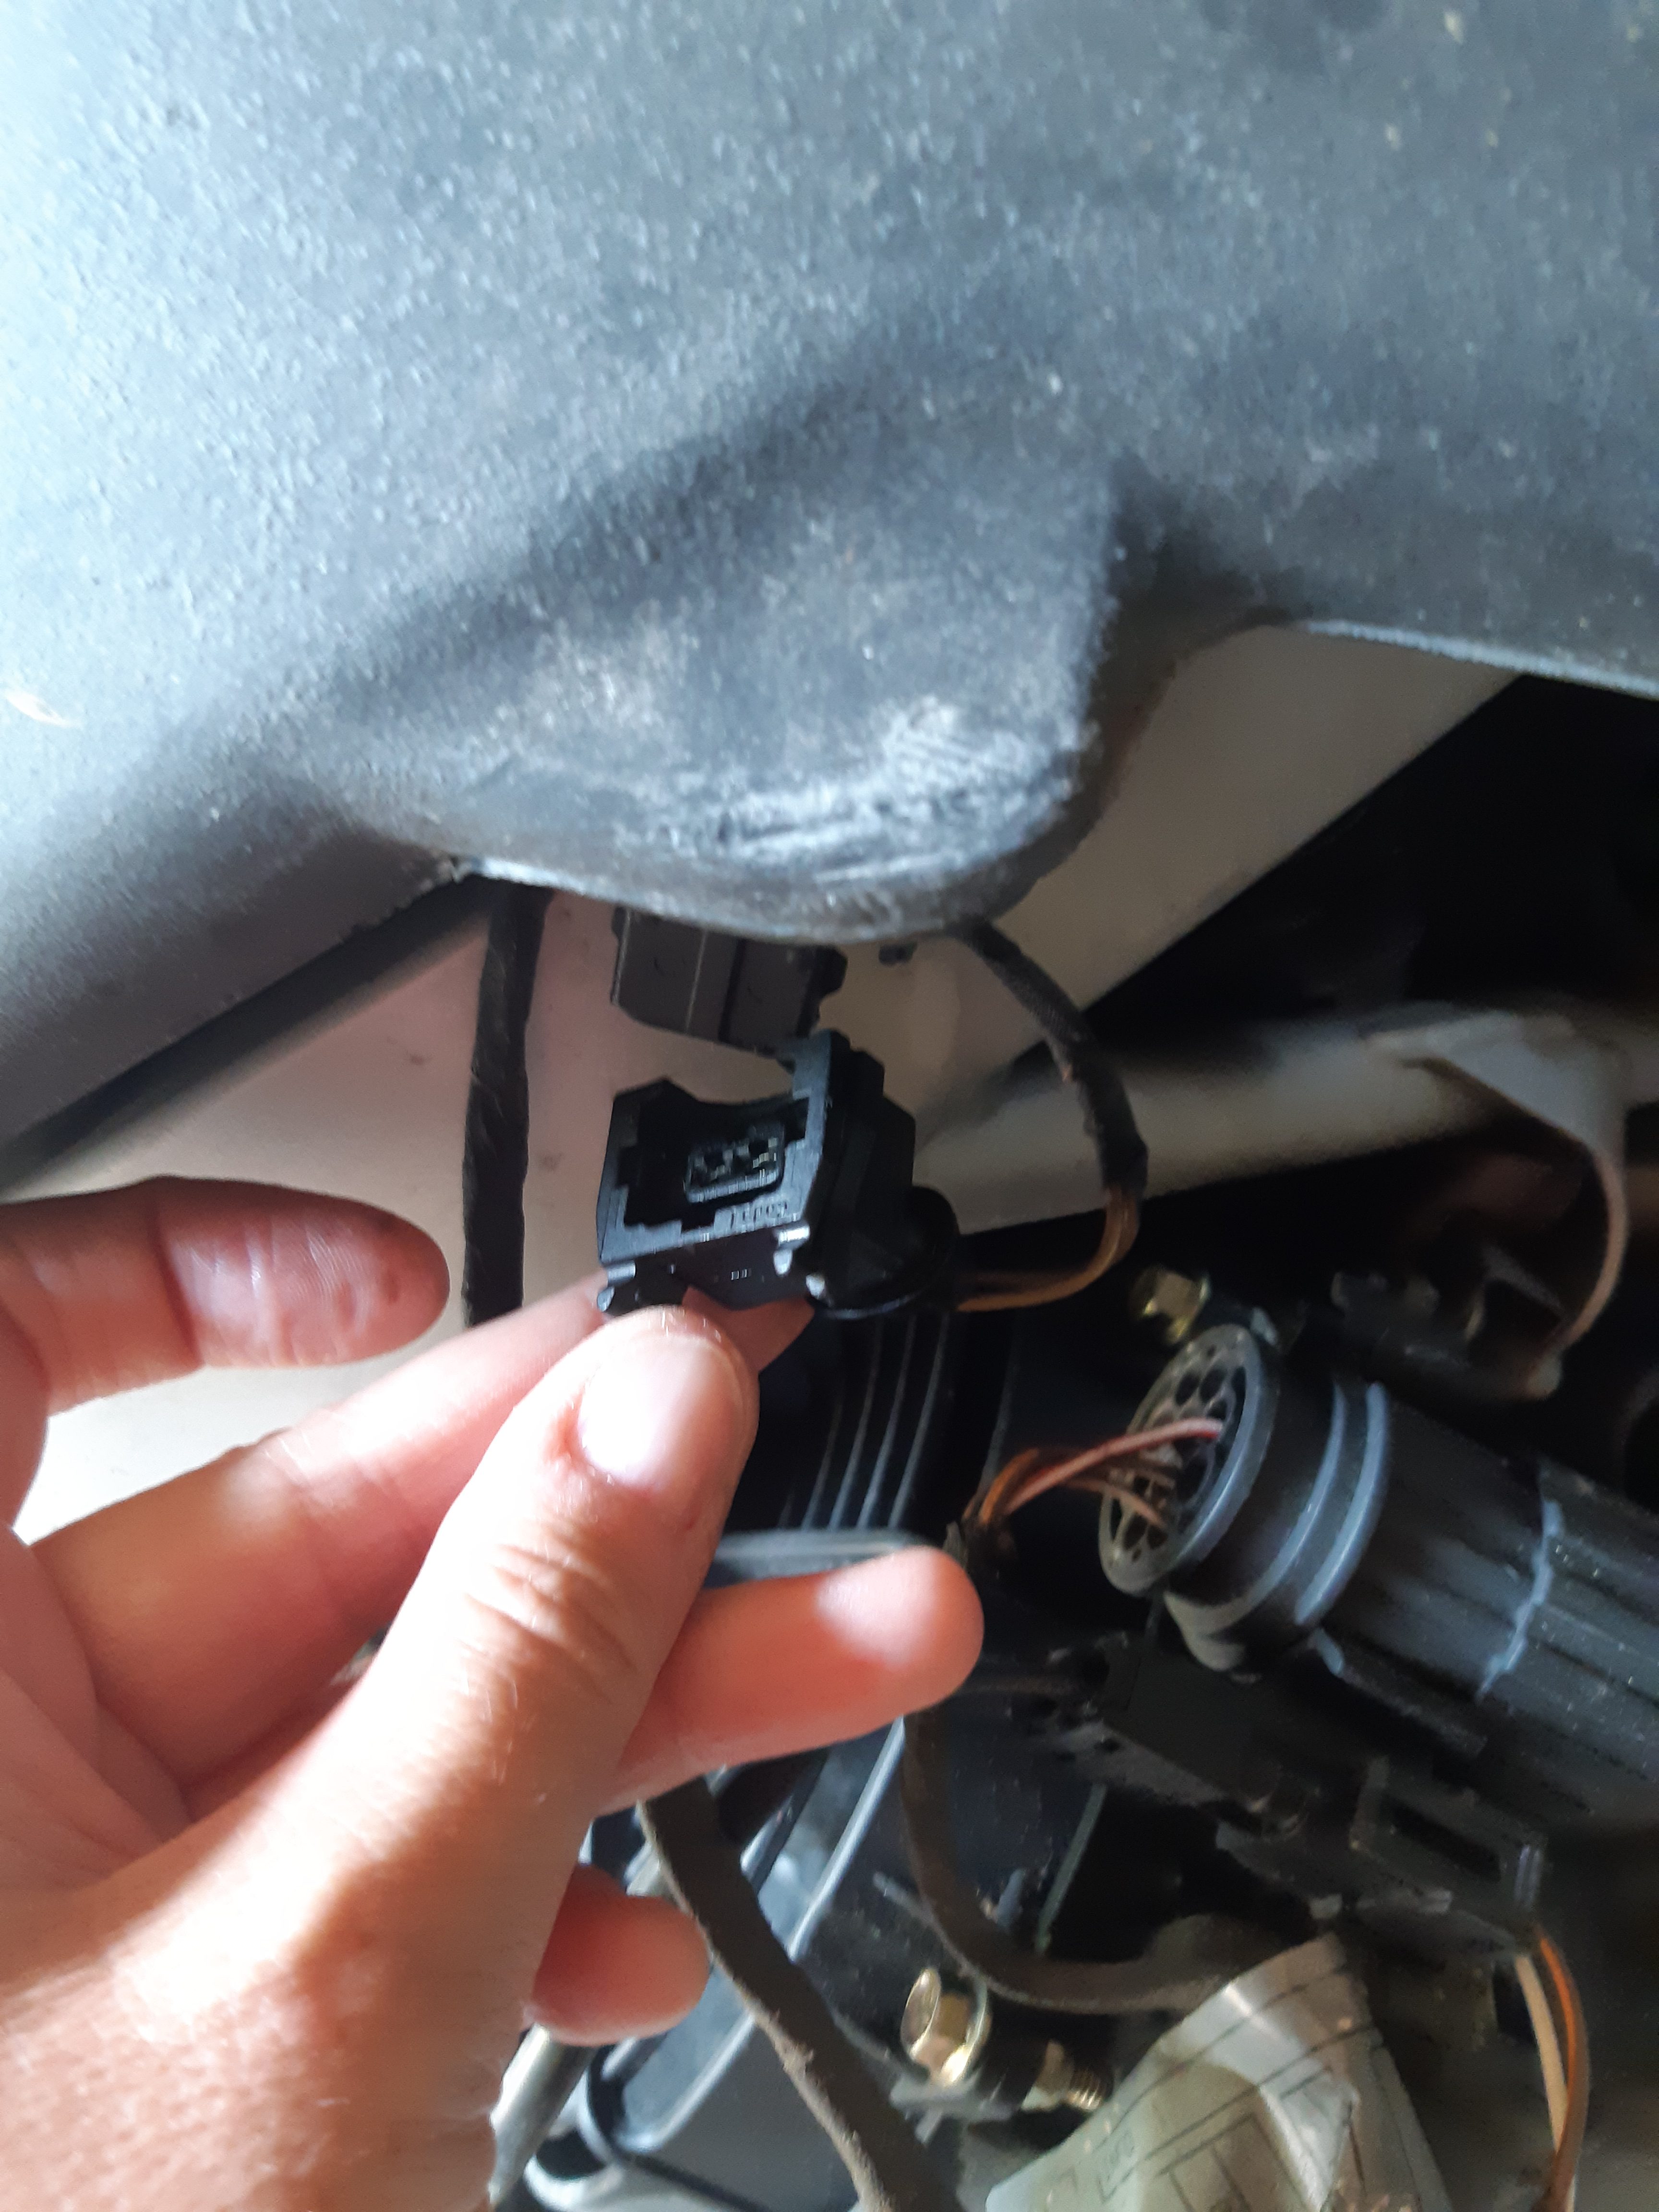
Unfortunately, there was mould under the seat as well. The taped cables were all mouldy and the plastic cover for the fuel pump too, but worse was that the connector had mould all over. I was worried that it would be damaged by moisture but luckily, no damage was done. It seemed to work just fine when I started it up after I’d wiped everything with vinegar and given it a layer of multispray as a moisture repellant.

Then I gave the bike an all-over wash of course. Fortunately, I had gone over it with AFC-50 to prevent rust and it seems to have helped, the chain and the spokes were fine which was a relief.
Following this initial cleaning I had some more work to do – I had purchased a new battery, and then I needed to change the oil and filter + the air filter. Firstly, I had studied the Haynes manual carefully and watched a couple of YouTube videos to make sure I knew how to do it, then I had to locate the tools I needed. I don’t have my own kit here so that meant going through all dad’s stuff which took some time as I needed spanners, hex keys, allen keys and cross headed screw drivers. I would say that this preparational stage took as much time as the actual work. I also decided to learn a bit more about oils so I started a couple of discussions in online forums. I tend to go all in when I do something.

So far so good! I managed to drain the oil tank without any problems. Prior to this I had taken off the bash plate and warmed up the engine slightly.

The next step was to drain the engine of oil. For this I needed the largest allen-key in the set and an extension to get more leverage. But regardless how much I pulled I couldn’t make it move, dad had a go as well with no success. It is an awkward spot as it is under the bike and there is very little room as the frame is limiting the space as well but, holy moly, someone pulled that freaky tight. I had to give up as I didn’t want to round off the screw. I opened the banjo bolt, this was light and easy, just a quick turn with spanner 22, and let out some oil from there. Then I just had to accept that it wouldn’t be possible to empty the engine completely this time. 
The filter was next and for this I needed a specially made oil collecting carton, even with this I made a bit of a mess and got oil to clean up on the engine. The oil cover has hex screws, which I was able to unscrew thankfully. Then a new filter and rubber ring was fitted and new oil filled in . And yeah, the engine started and the oil pressure was normal. At this point I hade an ice cream break to celebrate this success 🙂
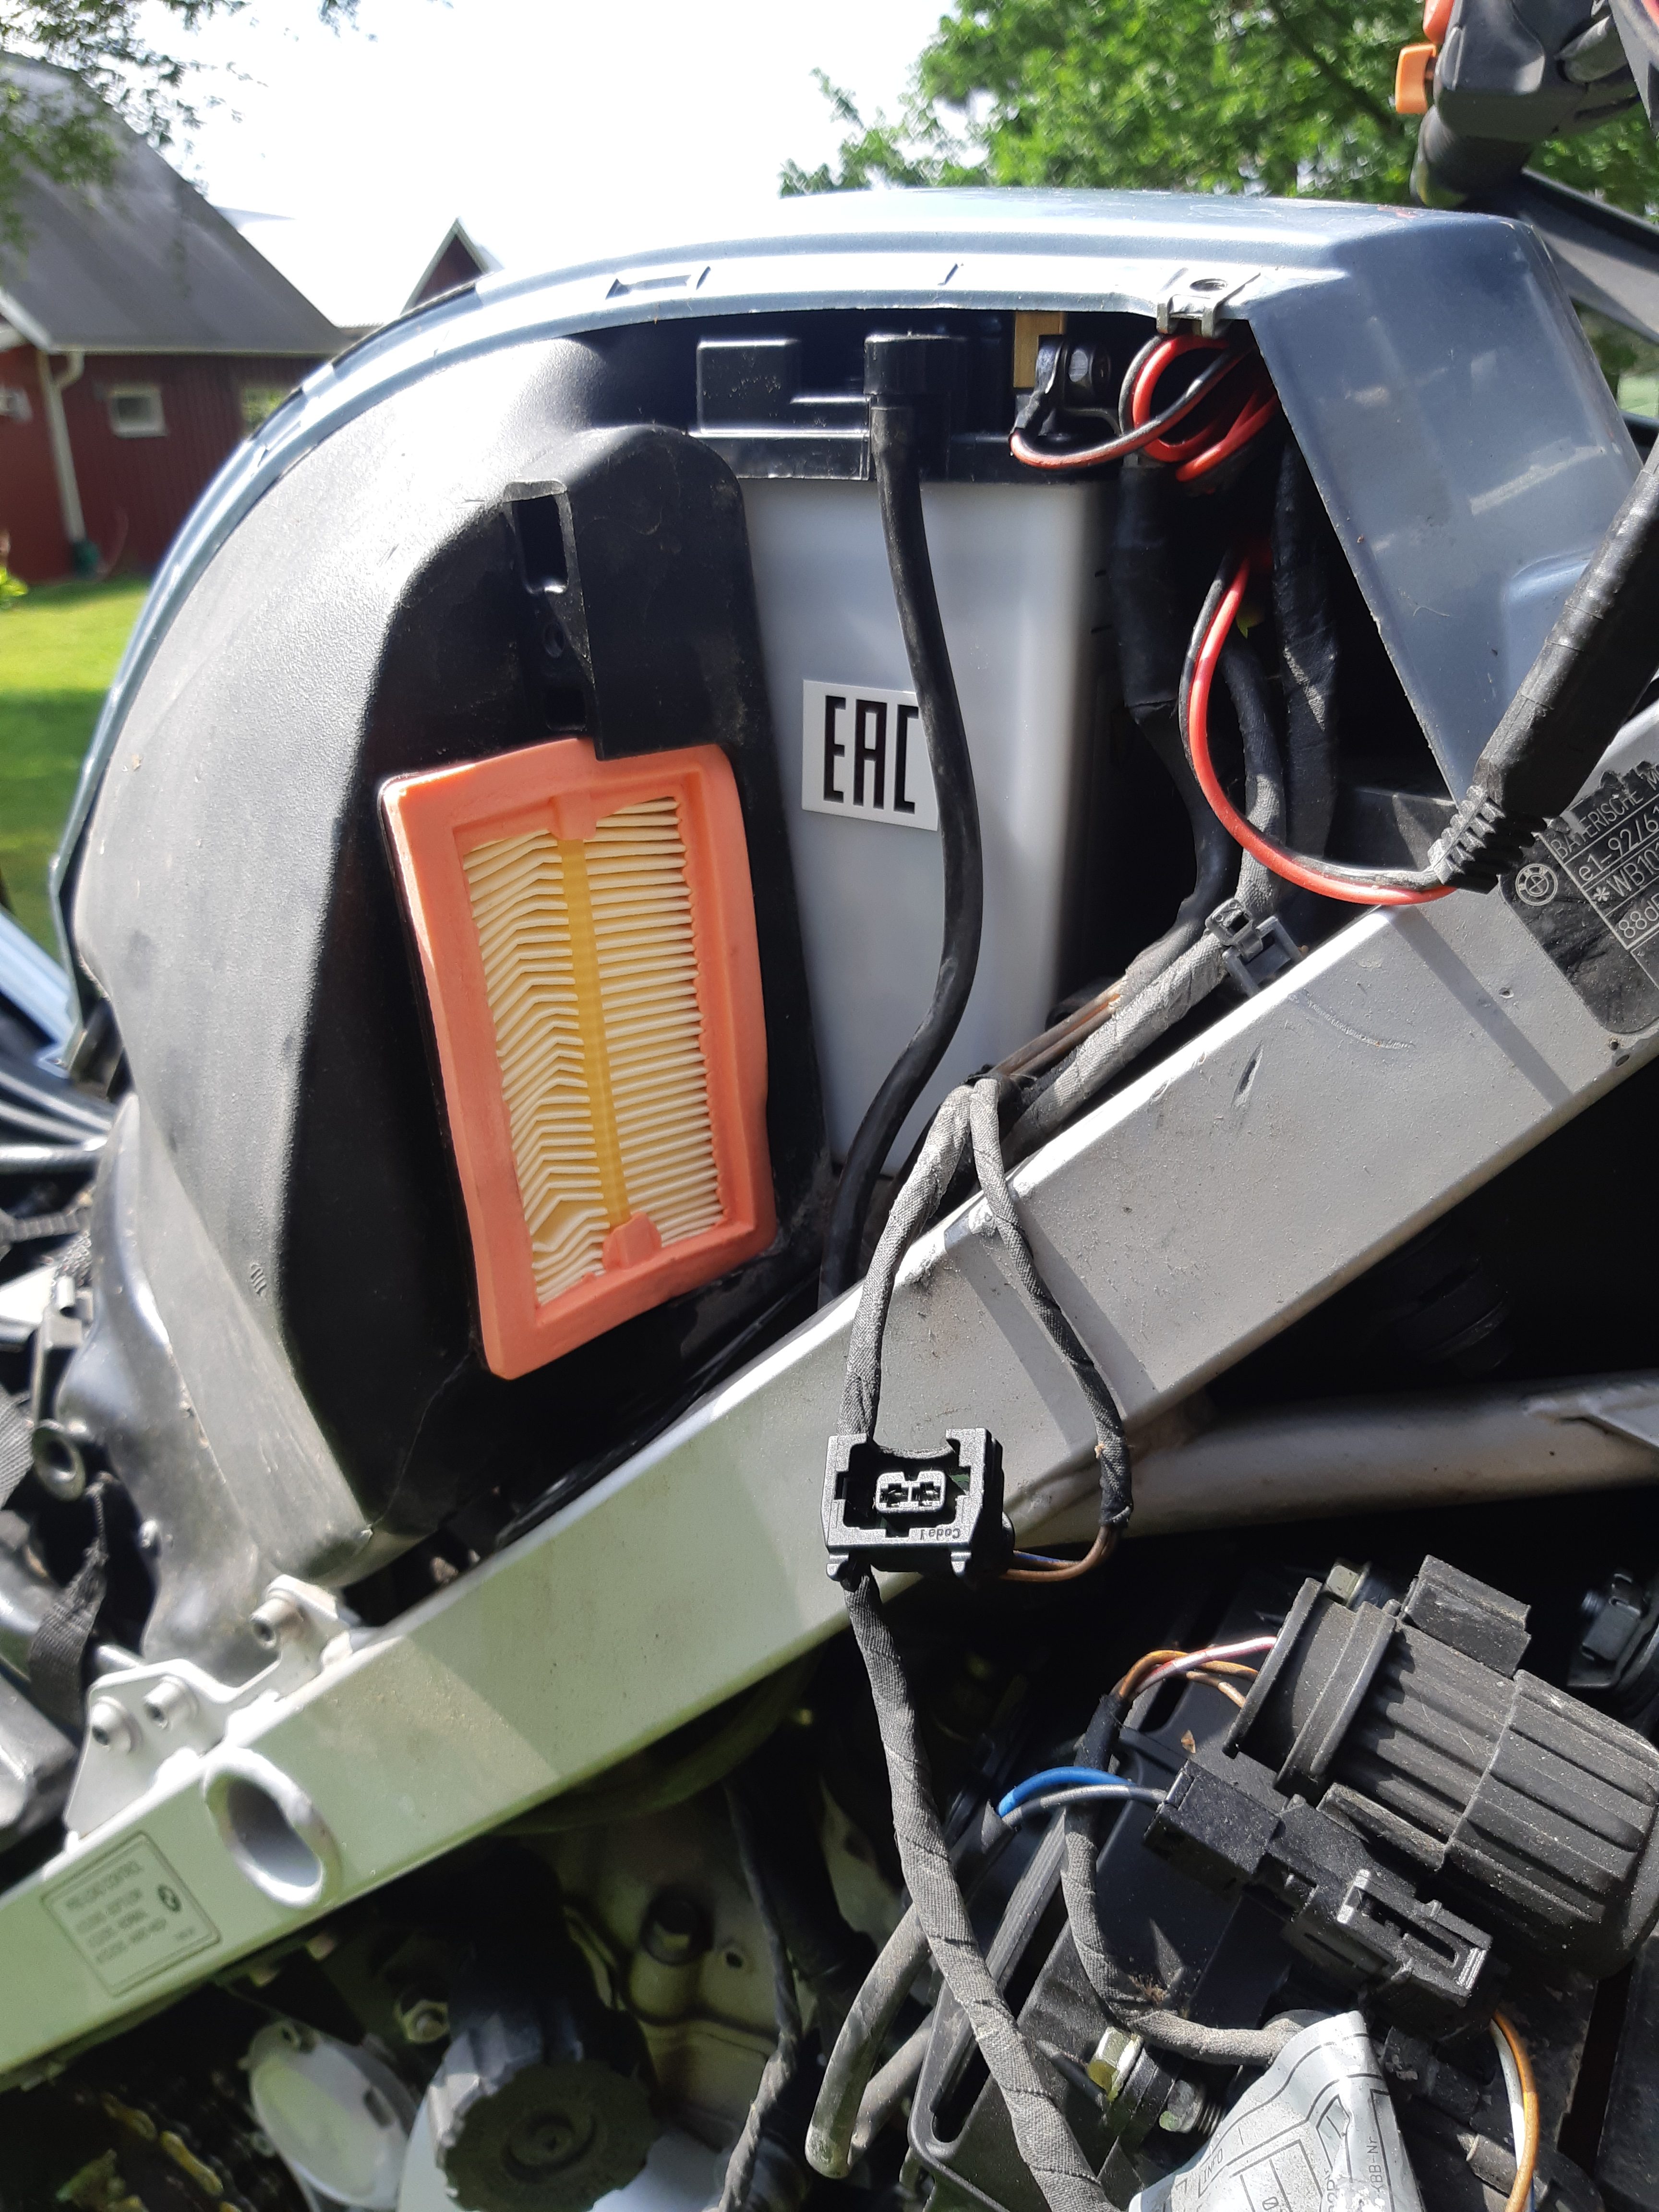
I had also decided to change the air filter as I had the bike naked anyway and it seemed like an easy enough thing to do for me. The first thing to do was to disconnect the air temperature sensor, which was a bit fiddly as I needed to bend the metal clip off before being able to pull it apart.
Then, there were two screws to unfasten the duct and take it apart to expose the air filter. To my surprise the fitted filter was a BMC multi-use filter which I can clean and re-fit next time. Without knowing it was there, I had bought a standard paper filter for replacement. There was some oil in the filter hosing that I needed to drain before fitting the new filter.

After having squeezed in the air filter I “just” had to pry the duct together without the filter flopping out and screw it on.
Then all that was left was to put the fairings back on again and fit the bash plate. Since I had removed the battery when I stored the bike away, I had not put back all the screws for the fairings. This is my normal routine for when I remove the battery, I just put back a few to hold it together, not the full 16 of them. Unfortunately, I don’t remember where I put them. I had to get some almost but not quite the same looking screws as replacements.

Lastly, I checked that the bike starts ok, that all the lights are working, the horn too and the chain and tyres looks fine. Insurance and tax is paid. All that is left is the MOT, I hope all goes well tomorrow.